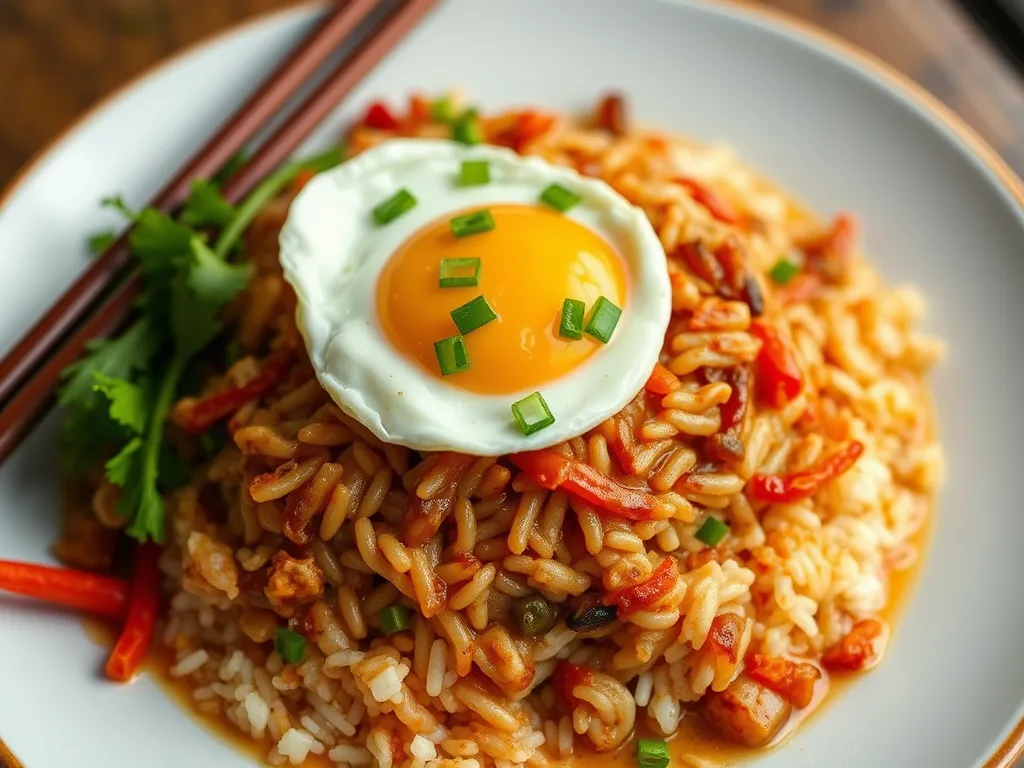
Kimchi Fried Rice with Egg — Ready in Under 20 Minutes
Leftover rice + kimchi + egg = dinner. No thinking required.

It's 6:30 PM, you're wiped out, and your fridge has cold leftover rice and a jar of kimchi. That's all you need to make one of the most satisfying quick dinners in existence. Kimchi fried rice — kimchi bokkeumbap — is a Korean staple built for exactly this moment. The kimchi does most of the flavor work: tangy, spicy, a little funky in the best way. A fried egg on top adds richness and turns it into a proper meal. Expect bold flavor, minimal dishes, and dinner on the table in 15 minutes flat.
Ingredients
- 2 tbsp neutral oil — vegetable or canola oil, divided
- 3 cup cooked white rice — day-old cold rice works best; fresh rice can be used but break up clumps
- 1 cup kimchi — roughly chopped if pieces are large
- 3 tbsp kimchi juice — from the kimchi jar; adds big flavor
- 1 tbsp soy sauce — low-sodium preferred
- 1 tsp toasted sesame oil — added off-heat for aroma
- 1 tsp gochujang — optional, for extra heat and depth
- 3 unit garlic cloves — minced
- 2 unit green onions — thinly sliced; whites and greens separated
- 2 unit large eggs
- 1 pinch salt and black pepper — to taste
- 1 tsp sesame seeds — optional garnish
Method
- 1 Pull your cold rice out of the fridge and break up any large clumps with your hands or a fork. Have all your ingredients prepped and near the stove — this goes fast.
- 2 Heat a large skillet or wok over medium-high heat until hot. Add 1 tbsp of the neutral oil and swirl to coat.
- 3 Add the white parts of the green onions and the minced garlic. Stir-fry for 30 seconds until fragrant — don't let them burn.
- 4 Add the chopped kimchi and cook, stirring occasionally, for 2–3 minutes until it starts to caramelize slightly at the edges.
- 5 If using gochujang, stir it in now and cook for 30 seconds to bloom the paste.
- 6 Add the cold rice to the skillet. Press it down with a spatula, then toss and repeat — you want some of the rice to get a little crispy. Cook for 3–4 minutes total.
- 7 Pour in the kimchi juice and soy sauce. Toss everything together and cook for another 1–2 minutes until the liquid absorbs. Taste and adjust salt if needed. Remove from heat and drizzle sesame oil over the rice; toss once more.
- 8 Push the fried rice to one side of the pan (or use a separate small skillet). Add the remaining 1 tbsp oil over medium heat. Crack in the eggs and fry to your liking — runny yolk is traditional and ideal here, about 2–3 minutes.
- 9 Divide the fried rice between two bowls. Top each with a fried egg, the green parts of the sliced green onions, and sesame seeds if using. Serve immediately.
Variations
- Fully Vegetarian — This recipe is already vegetarian as written — just confirm your kimchi is fish-sauce-free (many brands are; check the label). Use tamari instead of soy sauce to keep it gluten-free too.
- Add Protein — Stir in 4–6 oz of cooked shrimp or diced tofu with the rice in step 6 to make it heartier. Pre-cooked rotisserie chicken works great too — shred and add at the same time.
- No Kimchi Juice? — If your jar is running low on liquid, substitute 1 tbsp rice vinegar plus a pinch of red pepper flakes to approximate that tangy, spicy punch.
- Scrambled Instead of Fried — Push the finished rice to the edges of the pan, crack the eggs into the center, scramble them quickly, then fold into the rice — saves a pan and is 2 minutes faster.
Notes
Cold day-old rice is the secret to non-soggy fried rice — the drier the better. If you only have fresh rice, spread it on a baking sheet for 10–15 minutes to dry out slightly before cooking. The amount of heat depends entirely on your kimchi: older, more fermented kimchi is more sour and intense, which is perfect here. If your kimchi is fresh and mild, lean on the gochujang to add depth.
Equipment that helps
- Large skillet or wok (12-inch) — A wide, hot surface lets the rice sear and develop crispy bits instead of steaming in a pile.
- Thin metal spatula — Lets you press and flip the rice efficiently to maximize those toasty, slightly crispy grains.
Find more dinners like this
More like this